Pages

Showing posts with label Stampin Up. Show all posts

Wednesday, 27 May 2020

No Prob-llama!

Hey Crafty Friends!

Just stopping by today to share a card that I made from a tutorial over on Splitcoaststampers.com


I have never made this type of card before - called a 'tent' card for obvious reasons!  I thought it was a really clever design with an effective 3D look but one that also folds up flat to fit in an envelope.  Cool huh?!


Things are heating up in Arizona this week with temperatures here in Scottsdale set to reach 112°F by Friday 😲 so think this influenced the theme I chose for my card today 😂  I used a piece of sand colored card to make the base and then some cool papers from a DCWV paper pad that I have had for ages and never really used (continuing my goal of using up those neglected supplies!) for the front and inside.  I then stamped and die cut the llama and cacti using the Birthday Fiesta set from Stamping' Up and mounted them on some offcuts of the same sand cardstock shaped to look like sand dunes to make a desert scene.

I loved making it so much, I am now off to make another one! 😀

Thanks for stopping by and take care 'till next time ,,,


Bev x


Saturday, 17 January 2015

A Sheltering Tree Through the Seasons

Another quick one today as I continue to grapple with black bins bags and the darkest regions of Narnia (also known as the back of the spare room cupboard).

I think I have fallen in love with the new Sheltering Tree stamp set from the Stamping' Up Spring/Summer 2015 catalogue!  It is a gorgeous set and ideal to make a quick & easy card for any season as you can dress up the tree in any way you like ... quick & easy works for me though :)  I have had a play and created a set of notecards for all four seasons, although I think I like the Spring one the best as Cherry Blossom is my absolute favourite!  Oh, if I close my eyes I can almost smell the heavenly scent of those puffy pink clouds of blossom ...... delicious!  Hopefully it will cheer you up too and remind us all that whilst the rain is lashing against the window and the wind is howling like a banshee, Spring really won't be far away!


Spring


Summer


Autumn


Winter


Stay safe in this nasty weather folks and if I spot Mr Tumnus or Aslan I will be sure to report back next week!

Cheers
Bev x

Saturday, 10 January 2015

Perpetual Birthdays ...!

Well ... Operation Clear Out continues this week in preparation for our move to Arizona.  Cupboards are being cleared, drawers tidied and an assortment of old hi-fi equipment, games consoles, and exercise paraphanalia have made their way on to that great virtual marketplace that is eBay.  (I don't why I EVER thought an Aero Pilates machine was going to change my life... I seem to recall sitting on it watching the accompanying DVD, with a glass of wine in hand and munching a bowl of crisps ... snort ).   And suffice to say, if I ever have to so much as look at a paper shredder again it will be too soon!  Why is it that no matter how carefully you empty the basket thingy (that incidentally fills up faster than the Magic Porridge Pot) you end up surrounded by shredded paper and dust .... grrrrr!

Anyway, I do have a crafty project to share with you this week ... huzzah!


This was one of my pre-order goodies from the new Stamping' Up! seasonal catalogue released earlier this week (if you have not seen it yet just click on the link on the right hand side  .... scroll down a bit ... there you go!) - The Perpetual Birthday Calendar kit is one of the fab new items this season and as well as the fun you will have creating it, it would also make a lovely gift as it comes in a sturdy kraft gift box which can also be decorated.  The kit comes with pre-cut calendar pages, printed 1 - 31,  ready for you to decorate and lots of embellishments (including sparkly glitter and sequins ... oooh shiny!).  There is also an accompanying stamp set which can then be used year after year to make your own versions.

This is how I chose to decorate mine ...


Here is the co-ordinating stamp set ...


If you want to have a go at making one for yourself, just click on the links above to go shopping!

Right ... back to clearing out cupboards  ... yawn ... or maybe I'll just have another cuppa first ... :)
       
Have a good week everyone!
Bev x

Saturday, 13 December 2014

December Daily - Project Life

So ... how many of you are putting together or planning to put together a December Daily album?  I have never attempted one before as December is hardly a 'sit back and chill out' kind of month is it?  If you are anything like me, I expect you too are up to your ears in lists, wrapping paper & sellotape, never mind trying to keep up with a daily scrapbook layout!  This year though, since discovering the Project Life memory keeping system, I thought I would have a go.  So far, so good.  Not only has it  proved to be quick and easy to achieve, but it has also added to the festive mood and I have really looked forward to completing it each day.  With the Hello December card collection from Stampin' Up, all I have had to do is slot in my photo(s), write my journalling and add a few quick embellishments - done!

Those attending my January classes will be completing their own December Memory Albums (hope you are remembering to take those photos girls!), but in the meantime I promised to share a few of the completed pages from my album.


Enjoy the rest of your weekend folks - go off and make some memories!
TTFN
Bev x

Saturday, 20 September 2014

Autumn Butterflies

I really do love this time of year don't you?  Some of the leaves have started to turn now - we have a particularly beautiful vine in our garden which is turning all shades of red and orange - and we are still being blessed with fabulous weather here in Sunny Sussex.  Best of all, I was able to attend Youngest's Harvest Festival at school, which in previous years I had missed due to being at work.  All the 'Littlies' who just started in the Kindergarten a week or so ago looked so cute in their new uniforms (the obligatory 3 sizes too big to allow for 'growing room') dragging their bags of harvest gifts behind them as they filed in to the assembly hall, and when the Nursery sang "Cauliflowers fluffy and cabbages green ..." I have to confess to having a tear in my eye as I remembered Eldest singing it at his Harvest Festival over 26 years ago!  The funniest moment for me though was when two of the teachers, who were meant to be accompanying the hymns on keyboard and electric guitar (!), and who clearly thought they should have been the additional two members of Coldplay got completely carried away, getting louder and louder, until they had almost drowned out the children's singing!  Haha ... hilarious!

So, meanwhile back at the Crafty Ranch, I held my first Stampin' Up! workshop for a few of my neighbours **actually we make up a girl's team for the local pub quiz and while we may not be the cleverest, we certainly have the most fun and are definitely the loudest!**   It was a really fun morning **coffee, cake and crafting .... what's not to love?!** and by the end of the session everybody had made a really professional looking card to take home with them.  This is the card they all made using Papillon Potpourri stamp set, and the 2014-2016 In Color Stamp pads and card.


Didn't they do well?!


We all had so much fun that we have decided to make it a regular monthly event!  **Note to self ... better get working on some new samples**

I also managed to complete this week's Pastry Bake Off challenge with a late entry of ..........
Profiteroles ... Boom! Smashed it again!

Thanks for stopping by and as usual, lovely have your company.  Until next week ...
TTFN
Bev x

Saturday, 13 September 2014

Seasons of mist and mellow fruitfulness ....!

There is something very beautiful about the onset of Autumn.  The trees have not yet been transformed into the glorious splendour to come, but the early mornings are shrouded in a misty haze and the days are still bathed in warm sunshine.  **ooh, hello, I've gone all John Keats! ...**  An added bonus this week was also being able to watch the deer in the meadow that backs on to our garden with the sun just coming up and the mist still swirling around their feet.  I hope you were also able to catch glimpse of this week's stunning blood red harvest moon?  Wasn't it breathtaking!  Mr Crafty Cow managed to take this rather impressive shot on our point and shoot digital camera ... cool huh?!


So this week, I received several requests to show how I made this cute little gift bag and so I am sharing a short tutorial below which hopefully you will be able to follow (I am afraid I haven't ventured into the realms of Video tutorials quite yet, sorry!)  It really is very simple to make and just uses a few scraps of card and pretty papers, but looks so effective.


Cut a piece of card to 15cm x 5cm and score at 2cm & 5cm*  (I just used a piece of plain white card from my scraps box)

*This measurement can be adjusted to fit your chosen contents, e.g. if your item is only 2cm deep then adjust accordingly and you would therefore score at 2cm and 4cm.


Fold along score lines so that your strip of card now looks like this


Now, cut two pieces of  your chosen decorative paper to match the measurements of your card.  In my case, these were 10 cm x 5cm and 2cm x 5cm.  I used the Moonlight paper stack from Stampin' Up!


Stick to the card as shown


Now cut a contrasting strip of paper 1cm x 16cm*.  Centre along the front flap and stick down.
*Again, adjust according to the depth of your gift packet


Bend gently at each side and then secure to the back.  [I added a glue dot to the back of my small gift and then pressed gently to the back of the card so that it held in place and didn't slide around in the bag.]


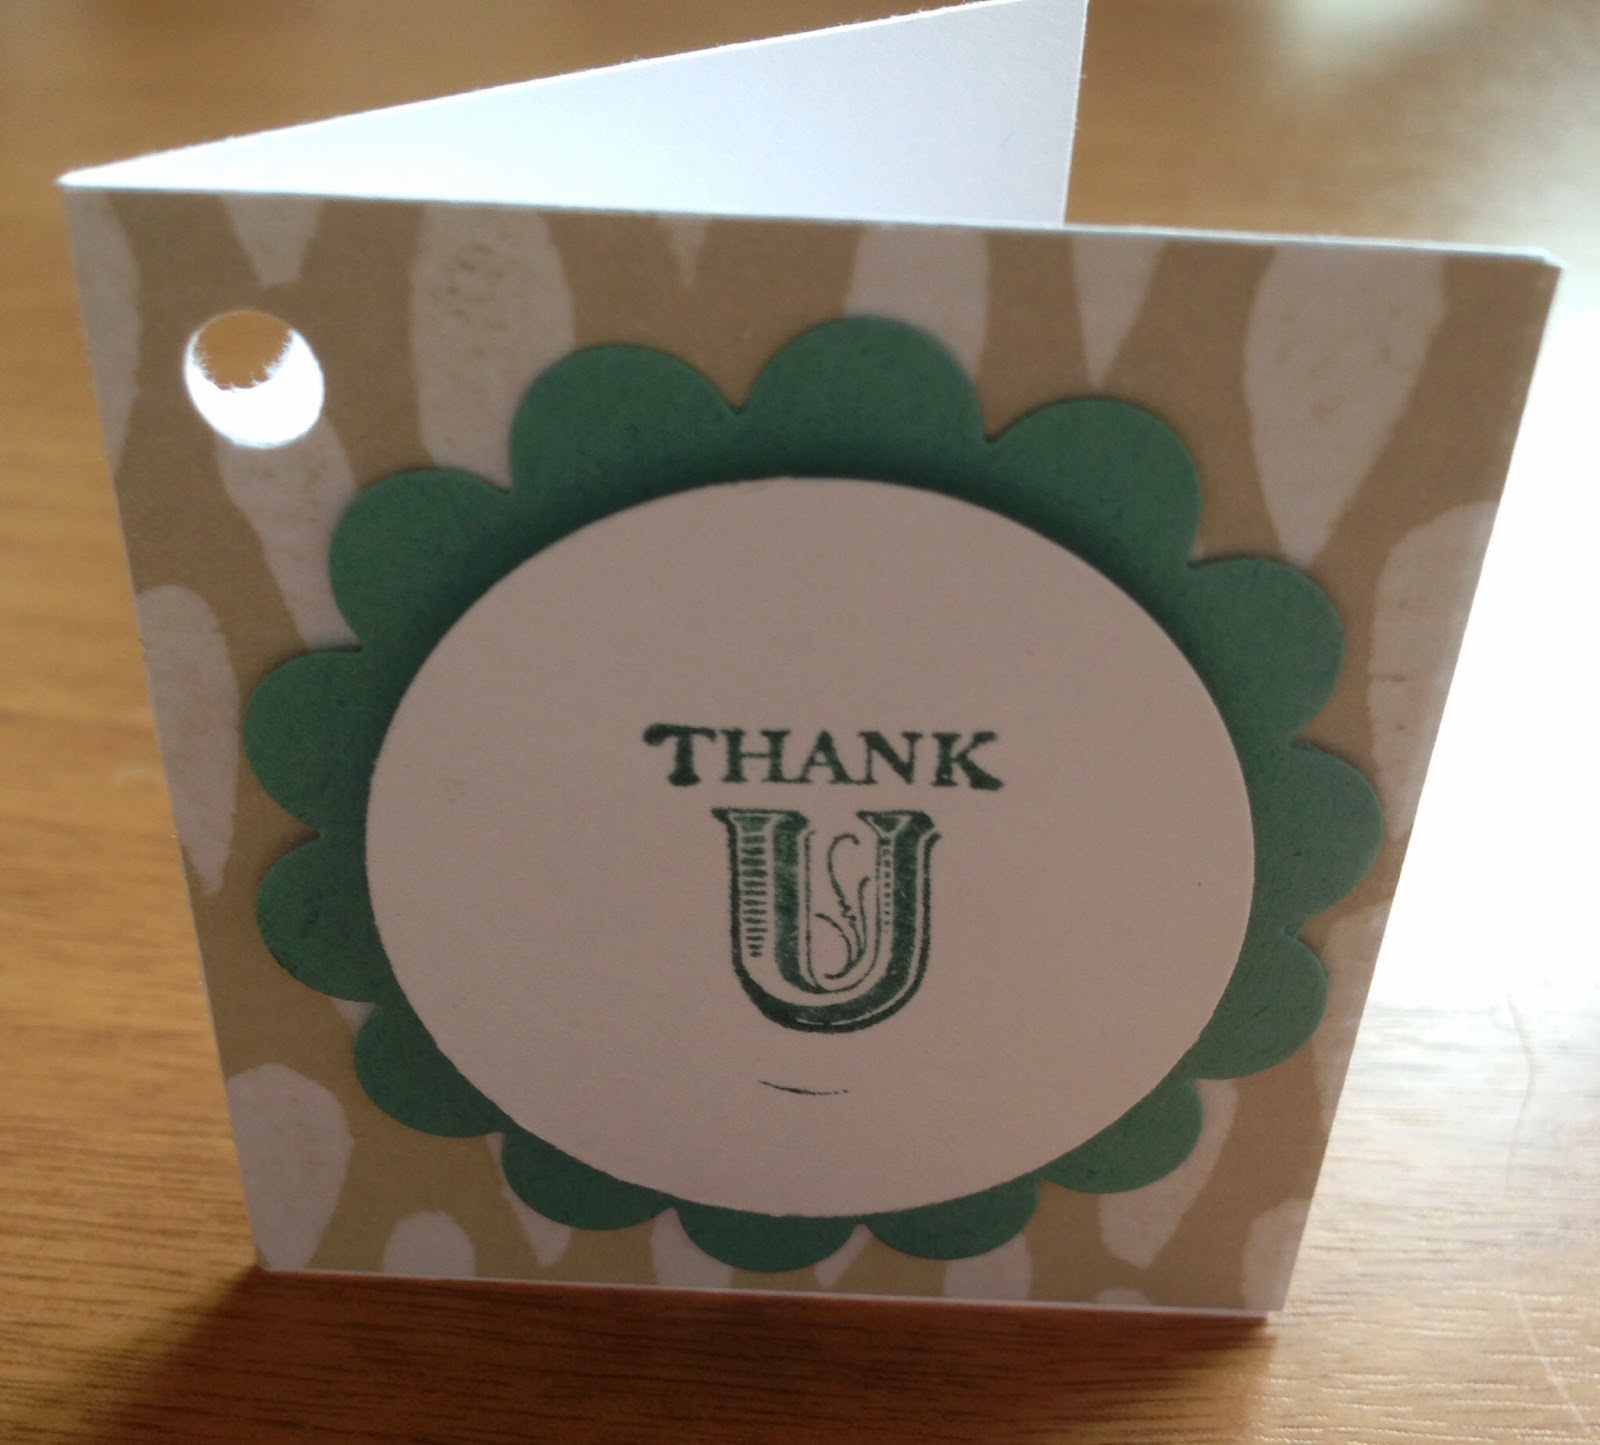
Place your gift in it's holder inside a cellophane bag (I used a small card bag) and then cut a piece of card 10cm x 5cm for the gift tag and score in the centre.


Cover with a scrap of matching paper and punch a small hole in the top left hand corner so that you can thread ribbon through.  I used Scalloped circle punch to punch out a circle in Lost Lagoon card stock and a slightly smaller plain circle punch to punch out in Whisper white to stamp my message on.


I used a sentiment stamp from Stampin' Up!'s Pennant Parade set and stamped in Lost Lagoon ink.


Thread a scrap of ribbon through your tag and then tie around the top of your gift bag.  Done!  These are so easy to make using just a few scraps of card and paper and can transform a small gift or favour into something really special.


As for the Bake Off news this week ... I gave up trying to find a European cake recipe that wasn't a gazillion layers and covered in sickly icing and filled with cream, so I opted for a Nutty Apple Loaf from the Hummingbird Bakery book.  Hadn't made it before but oh my goodness, it was totally scrumptious and will certainly be making it again!  Next week is pastry week ... better get my thinking cap on again ...

TTFN
Bev x